Pressure Washing Paint Prep: Surface-Safe Methods
By Lian Zhou • 8th Jan
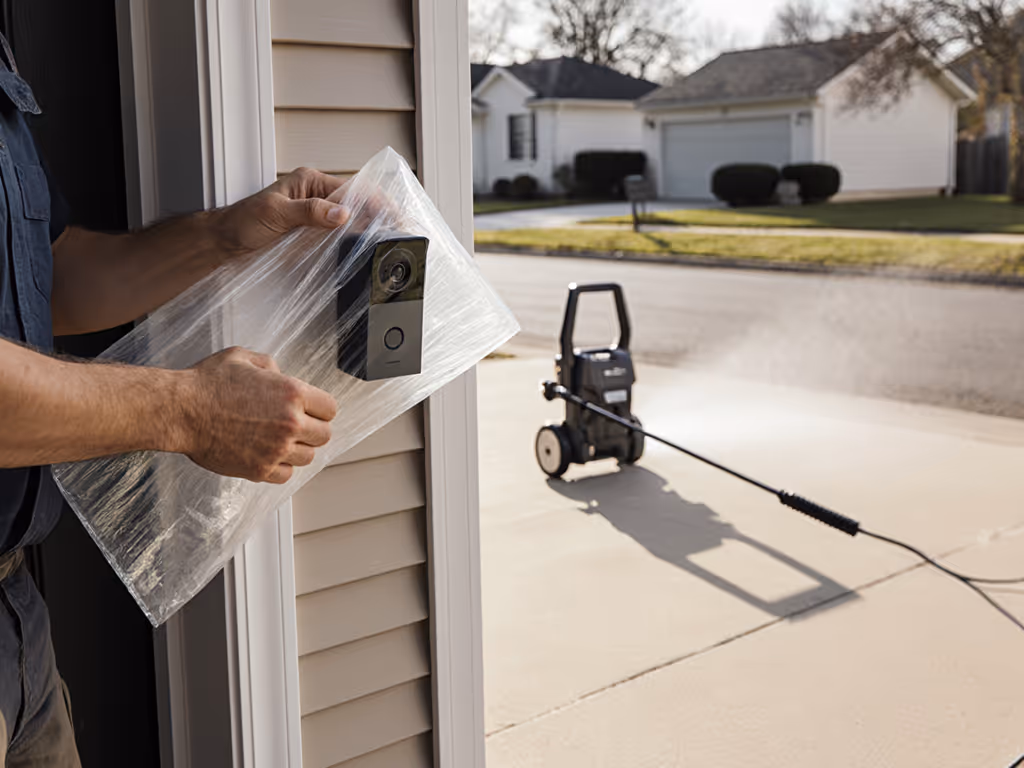
When approaching pressure washing for paint preparation, the most critical factor isn't your machine's maximum PSI or nozzle selection (it's understanding the surface itself). Proper surface prep before painting creates the foundation for paint adhesion that lasts for years. Too many DIYers and even professionals damage delicate finishes by starting with the pressure washer settings rather than the material's tolerance thresholds. Let me show you how to approach this task with precision, avoiding the common pitfalls that lead to fuzzy cedar, tiger-striping, and oxidation streaks that compromise your paint job before it even begins.
Why Surface Dictates Your Entire Setup
Start with the surface; pressure is the last knob. This isn't just advice, it is the fundamental principle that separates successful prep from costly damage. I've tested hundreds of substrates in my workshop, mapping safe PSI bands, standoff distances, and dwell times for everything from weathered cedar to modern composites. When that homeowner came to me with fuzzy cedar steps, the solution wasn't about finding a more powerful machine, it was about dialing back to what the wood could tolerate while maintaining cleaning efficacy.
Too many paint failures stem from improper surface preparation that either leaves contaminants behind or damages the substrate itself. The "blast it clean" mentality ignores the delicate balance between effective cleaning and surface preservation. For paint adhesion, you need a clean surface without compromising its integrity. If you're deciding between techniques for delicate substrates, review our soft wash vs pressure wash guide for surface-safe method selection.
Step 1: Material Assessment (Your Foundation for Success)
Before connecting your pressure washer, conduct a thorough surface assessment. This is where most DIYers skip the critical step that leads to damage. Your surface cleaning techniques must begin with identification:
Surface Identification Checklist
- Wood types: Softwoods (cedar, pine) vs hardwoods (mahogany, ipe)
- Composite materials: Wood-plastic composites (WPC) vs capstock composites
- Masonry: Concrete vs stucco vs brick vs stone
- Coated metals: Aluminum siding, steel panels, galvanized surfaces
Each material has specific finish-safe thresholds that determine your maximum allowable pressure. For material-by-material settings, see our house pressure washing methods. For example:
- Cedar shingles: 500-1200 PSI at 12-18" standoff with 40° nozzle
- Vinyl siding: 1000-1500 PSI at 18-24" standoff with 25-40° nozzle
- Concrete: 2000-3000 PSI at 6-12" standoff with 15-25° nozzle
- Stucco: 800-1200 PSI at 12-18" standoff with 40° nozzle
Test on an inconspicuous area first (never assume). That cedar step anecdote I mentioned earlier? The homeowner had been using 1800 PSI across all surfaces, not realizing that threshold was destroying the wood fibers on their steps while barely affecting the concrete patio nearby.
Step 2: PSI and Standoff Distance (The Safety Parameters)
Once you've identified your surface type, establish your standoff distance and pressure parameters. Remember: lower PSI with appropriate dwell time often outperforms high-pressure blasting for paint prep. To match specs to tasks, start with our PSI vs GPM guide.
PSI Thresholds by Material Type
| Surface Type | Max PSI | Standoff Distance | Nozzle Angle |
|---|---|---|---|
| Softwood | 1200 | 12-18" | 40° |
| Hardwood | 1500 | 12-15" | 25° |
| Composite | 1800 | 12-18" | 40° |
| Masonry | 2500 | 6-12" | 15-25° |
| Coated Metal | 1500 | 15-24" | 40° |
Respect the grain (this applies to more than just wood). Even on masonry and composites, working with the natural pattern reduces surface disruption and creates better paint adhesion.
Exceeding these thresholds creates microscopic damage that manifests as raised fibers (wood), pitting (masonry), or coating removal (metal), all of which can sabotage your paint job's longevity. The oxidation risk from improper cleaning can create permanent discoloration that bleeds through multiple paint layers.
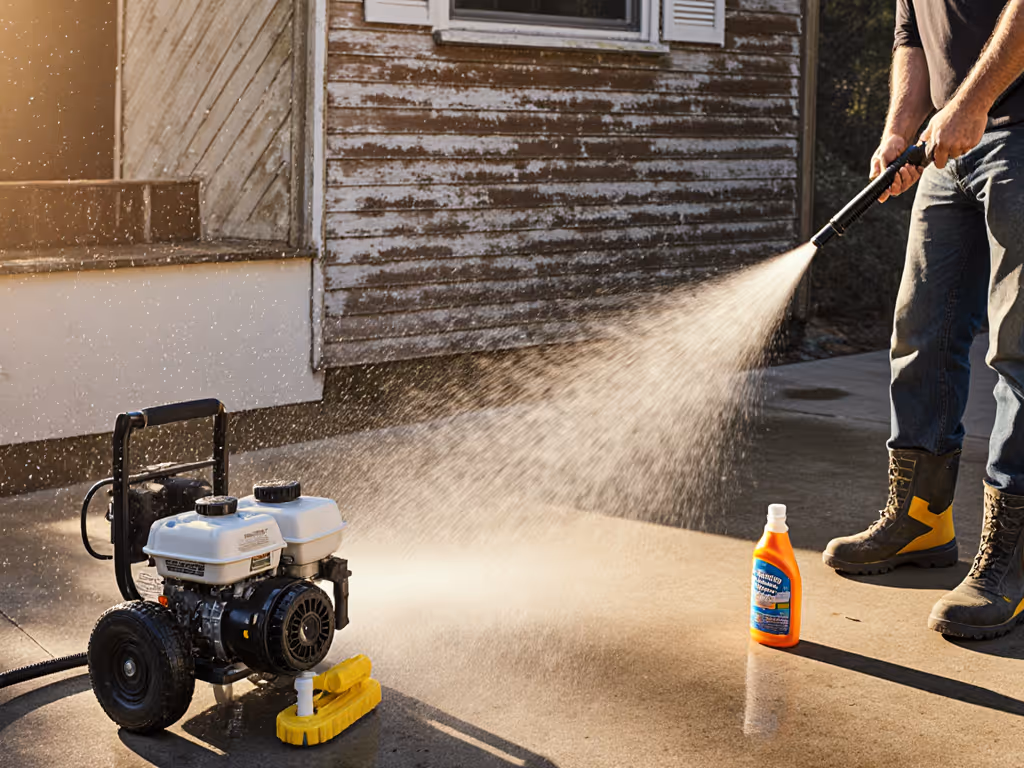
Step 3: Detergent Selection and Dwell Time Strategy
Chemistry matters more than horsepower when it comes to effective surface prep. My bias toward the mildest effective detergent isn't just environmental, it is practical. Harsh chemicals can degrade surfaces just as much as excessive pressure. Understand how pH and surfactants affect finishes in our detergent chemistry explained resource.
Detergent Selection Guidelines
- Oxygen cleaners: Best for wood and organic growth (mold, mildew)
- pH-neutral cleaners: Ideal for composites and coated metals
- Alkaline cleaners: Effective for grease and oil on masonry
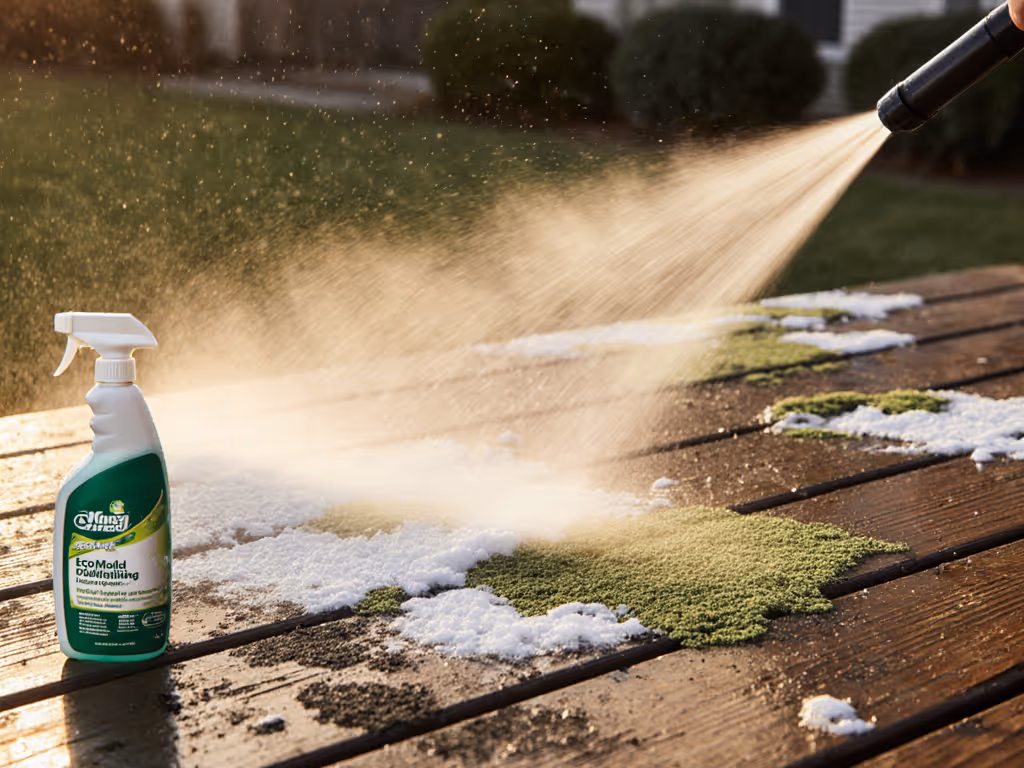
Apply detergent with a garden sprayer first, allowing proper dwell time (5-15 minutes typically) before pressure washing. This reduces the pressure needed by 30-50% while improving cleaning efficacy. Never let detergent dry on the surface, that creates streaks and potential chemical etching.
For wood surfaces especially, dwell time makes the difference between clean fibers and shredded ones. That fuzzy cedar step solution I mentioned earlier worked because we increased dwell time with an oxygen cleaner while reducing pressure (letting chemistry do the work instead of brute force).
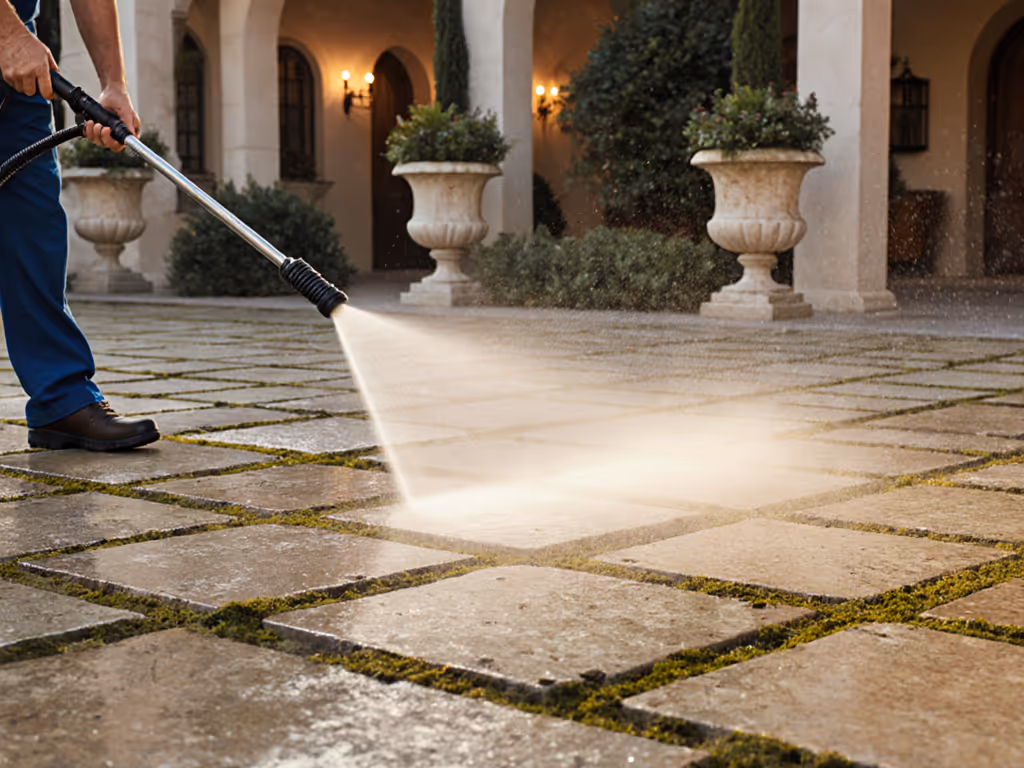
Step 4: Technique Execution (Precision Matters)
Your stroke technique impacts results as much as your pressure settings. Follow these surface-safe execution protocols:
Proper Washing Technique
- Work top to bottom to prevent re-soiling cleaned areas
- Follow the grain direction on wood surfaces
- Maintain consistent standoff distance (use a rod taped to your wand as a guide)
- Overlapping strokes by 30-50% to prevent striping
- Angle nozzle downward at 15-30 degrees, never perpendicular
Hold your wand steadily and move at a consistent pace (approximately 1 foot per second). Moving too quickly misses contaminants; moving too slowly creates oxidation streaks and surface damage. Uneven spray patterns often trace back to worn tips—use our nozzle maintenance guide to keep results consistent. On wood surfaces especially, Respect the grain by following its natural pattern rather than washing across it.
Step 5: Post-Wash Verification and Drying
Your prep work isn't complete when the washing stops. Proper verification and drying protocols ensure your paint adheres correctly.
Post-Wash Verification Checklist
- Visual inspection for remaining contaminants or surface damage
- Tactile check for smoothness (no raised fibers or etching)
- Moisture content testing with a reliable meter before priming
- Rinse verification for chemical residue (especially with alkaline cleaners)
Allow adequate drying time (typically 24-48 hours depending on climate and material). Rushing to paint creates moisture entrapment that leads to peeling and blistering. For accurate moisture content testing, wood should measure below 15% moisture content, concrete below 4-5% before priming.
Creating Your Painting Preparation Checklist
Before starting any pressure washing job, complete this painting preparation checklist to ensure surface-safe results:
- Identify surface material and age
- Determine finish-safe PSI thresholds for that material
- Select appropriate nozzle angle and standoff distance
- Choose the mildest effective detergent
- Apply detergent with adequate dwell time
- Test cleaning parameters on inconspicuous area
- Execute with proper technique and stroke pattern
- Verify cleanliness and surface integrity
- Conduct moisture content testing before painting
This systematic approach eliminates guesswork and prevents the most common pressure washing mistakes that doom paint jobs before they begin. By making the surface the foundation of your entire process (not an afterthought), you'll achieve professional results without the risk of damage.
Take Action: Your Surface-Safe Prep Challenge
This weekend, choose one surface element on your property (a deck section, fence panel, or small wall area) and apply the surface-first methodology. Document your material assessment, PSI selection, and results. Compare before-and-after texture and note how the paint adheres after your prep. When you let the surface dictate your setup rather than the pressure washer's capabilities, you'll join the ranks of professionals who consistently achieve flawless paint prep (without the damage, callbacks, or rework). Remember, the best pressure washing leaves no evidence it ever happened, creating the perfect canvas for your paint job to thrive.
Related Articles