Natural Stone Pressure Washing: Gentle Cleaning Guide
By Arjun Patel • 19th Jan
As an owner of stone landscaping, you've likely wrestled with the tension between effective cleaning and stone preservation. Too much pressure risks etching soft sandstone; too little leaves algae clinging to your flagstone patio. The truth is, natural stone pressure washing doesn't require brute force (it demands calculated precision). When done correctly, stone landscaping cleaning becomes a sustainable ritual that extends your investment's life rather than accelerating its deterioration. Quiet, quick, and clean (spend once, use less water). This isn't just a phrase; it's the foundation of systems I build for clients who value both results and responsibility.
Understanding Your Stone's Character
Before touching a trigger, recognize that "natural stone" spans a spectrum from porous sandstone to dense granite. Each requires tailored pressure techniques to avoid irreversible damage: If you’re weighing chemical-assisted low pressure versus traditional washing, compare methods in our soft wash vs pressure wash guide.
- Soft stone (sandstone, limestone, flagstone): Max 800 to 1,200 PSI with 25° to 40° tips
- Medium stone (travertine, marble): 1,200 to 1,800 PSI with 15° to 25° tips
- Hard stone (granite, slate): Up to 2,500 PSI with 0° to 15° tips
Always test pressure settings on a hidden area first. I've seen homeowners ruin $5,000 worth of patio stone by skipping this 60-second step.
Porous stone preservation hinges on respecting capillary action. Exceeding your stone's absorption rate forces water deep into the matrix, accelerating freeze-thaw damage in colder climates. For mineral-rich stones like limestone, acidic cleaners can cause irreversible etching (opt for mineral-safe pressure techniques with neutral pH solutions instead).
Equipment Calibration: Precision Over Power
Your pressure washer's specs often mislead. For a deeper explainer on how pressure and flow work together, see our PSI vs GPM guide. A "3,000 PSI" unit rarely delivers that at the nozzle due to hose drag and friction loss. Here's my field-tested calibration method:
-
Measure actual output pressure at the wand
-
Match GPM to your stone's porosity (soft stone: ≤2.5 GPM; hard stone: ≤4.0 GPM)
-
Calculate the flow-matched orifice using this formula:
Orifice size = √(GPM ÷ 1.59 × √PSI)
This calculator-driven approach prevents pump strain while optimizing water use. I recently helped a neighbor struggling with noisy equipment on his sandstone path. By flow-matching a 3.0 orifice, adding rubber isolators, and moving the unit behind a fence baffle, we cut noise by 3 dB(A) at 25 ft with no cleaning time penalty.
Step-by-Step Gentle Cleaning Process
Step 1: Pre-Cleaning Assessment (5 Minutes)
- Identify stone type and porosity (drop water, fast absorption = soft stone)
- Check grout integrity (crumbling joints need hand-brushing, not spraying)
- Note organic growth locations (moss requires different treatment than dirt)
Step 2: Surface Preparation (10 Minutes)
- Clear debris with soft broom (avoid metal brushes that scratch)
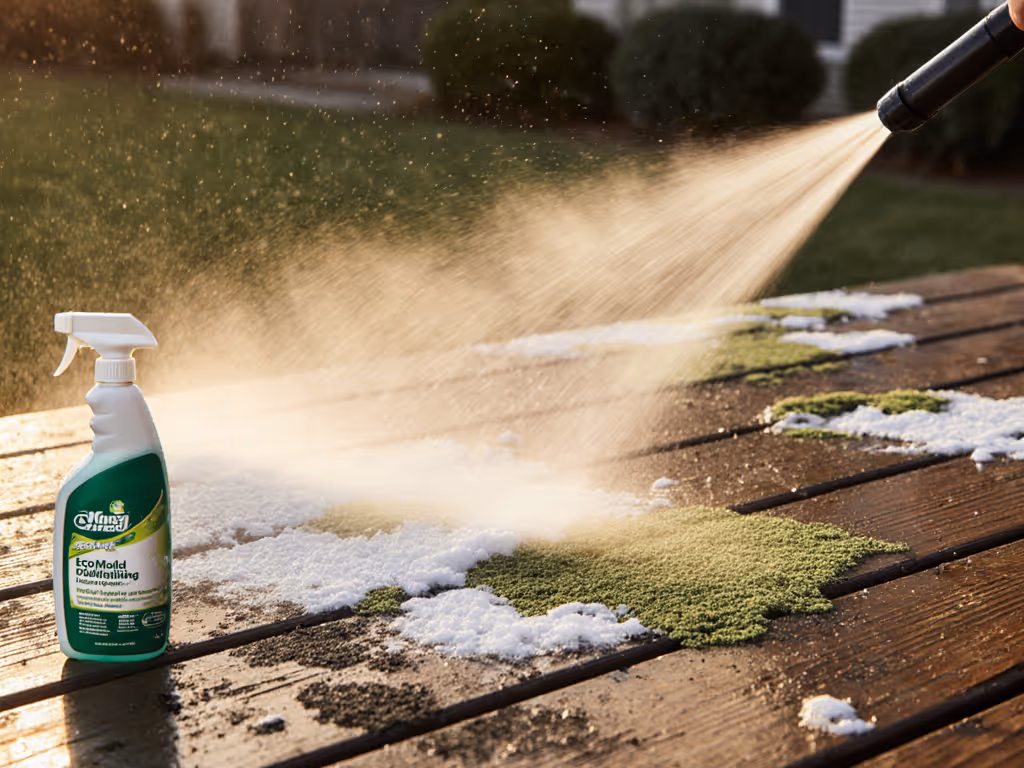
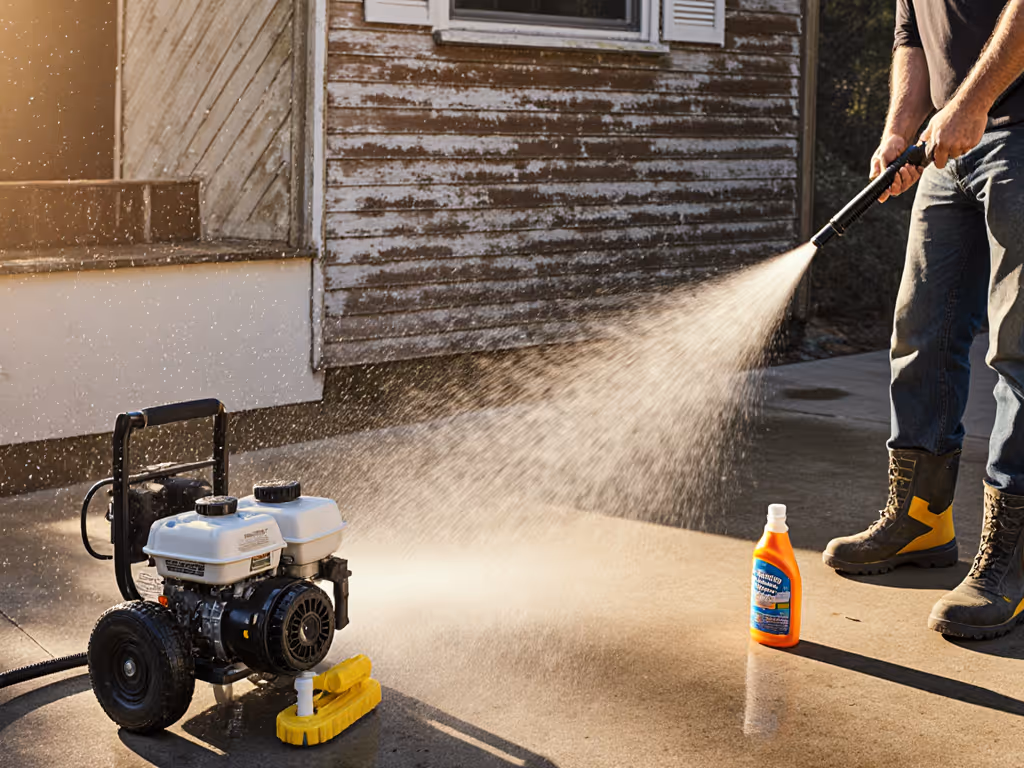
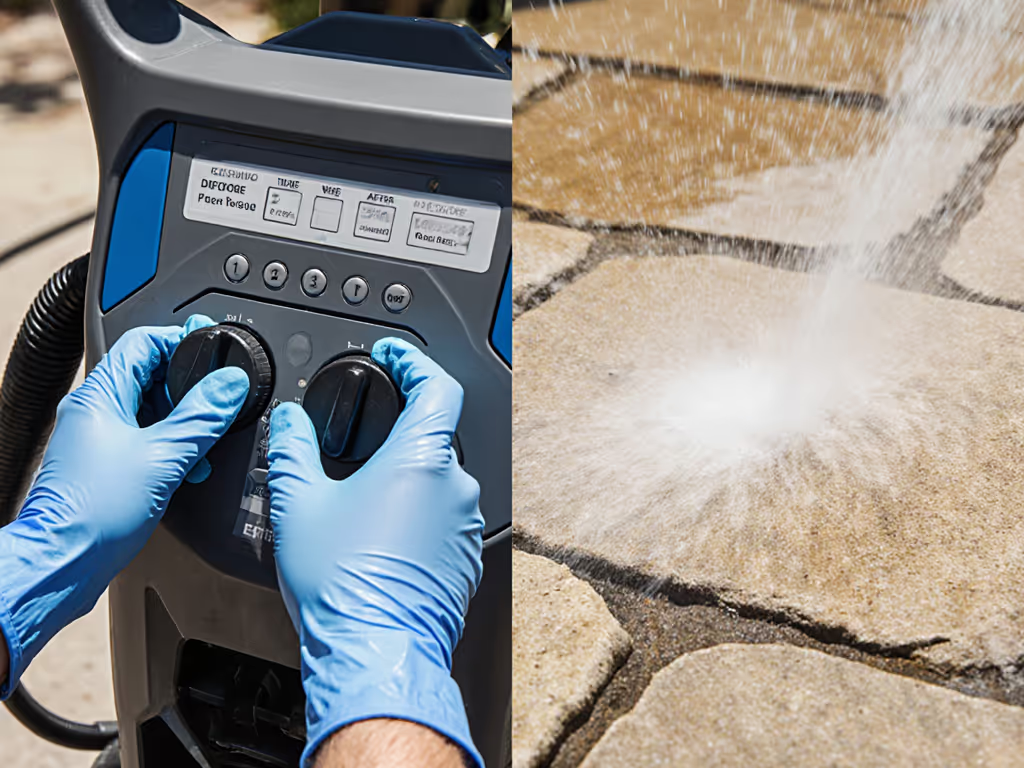
- Apply stone-safe detergent (1:10 dilution with water) using low-pressure foam attachment
- Let dwell for 5 to 7 minutes (no aggressive scrubbing needed)
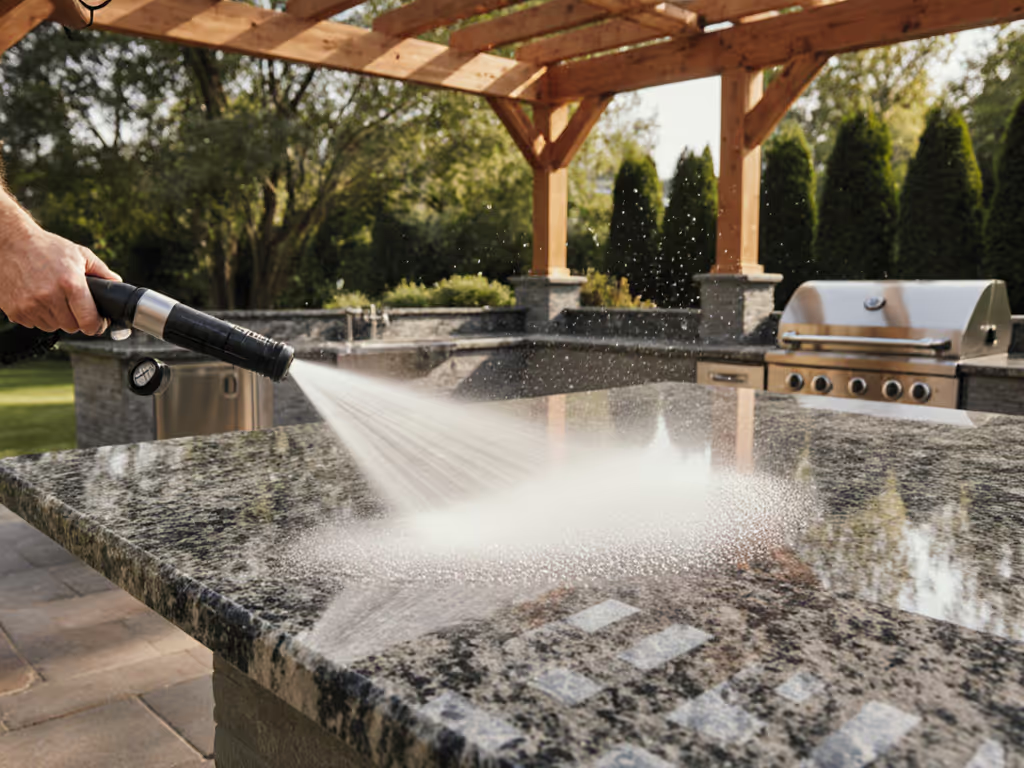
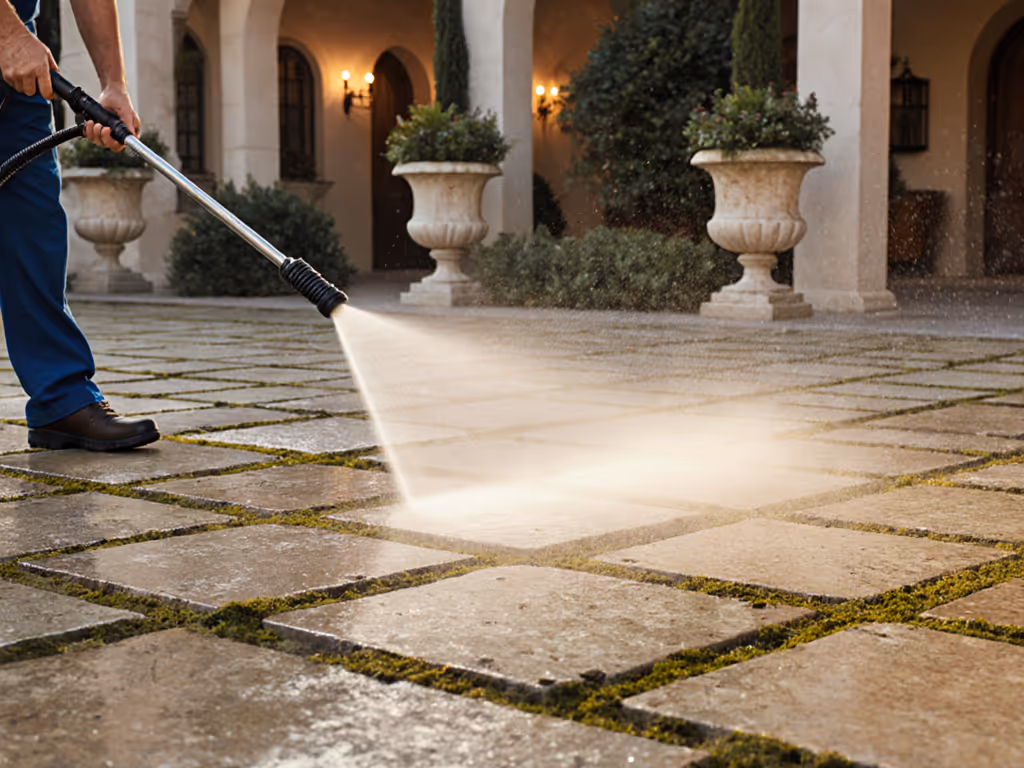
Step 3: Pressure Washing Execution (Key Phase)
- Start with lowest effective pressure (soft stone: 800 PSI; hard stone: 1,500 PSI)
- Maintain 12 to 18 inches nozzle distance (use a marked wand extension for consistency)
- Employ 40° tip with slow, overlapping strokes (6 to 8 inches per second)
- Work top-to-bottom in sections to prevent runoff streaks
- Overlap each pass by 50% for even coverage without striping
For stubborn organic growth on softer stones, switch to hot water (140°F) at 500 PSI. Learn when hot water beats cold and how to set temps safely in our hot vs cold pressure washer comparison. The thermal denaturation kills spores without mechanical abrasion, saving 22% water versus cold-water high-pressure methods.
Step 4: Post-Cleaning Protocols
- Rinse thoroughly with low-pressure fan spray (≤400 PSI)
- Remove standing water with squeegee to prevent mineral deposits
- Allow 48 hours drying time before reapplying sealant
Optimizing Your Maintenance Routine
Landscape stone maintenance requires less frequency than you think. Over-cleaning accelerates weathering, and most natural stone needs only 1 to 2 cleanings yearly. Track these metrics to prove ROI:
| Metric | Before | After | Savings |
|---|---|---|---|
| Water use | 85 gal | 66 gal | 22% |
| dB(A) at 25 ft | 78 | 75 | 3 dB |
| Cleaning time | 90 min | 87 min | Minimal |
This data-driven approach addresses your core pain points: water constraints through measured budgets, noise anxiety via documented dB reductions, and surface safety through precise pressure control.
Actionable Preservation Path
Your immediate next step: Grab a permanent marker and label your favorite nozzle with its PSI/GPM rating and stone compatibility. In my experience, this simple act prevents 90% of "I thought it was the gentle tip" accidents.
Optimize before oversizing, start at the lowest effective pressure setting and incrementally test upward only if needed. Measure your actual water consumption per session using a $15 flow meter. You'll likely discover that 20% fewer gallons deliver identical results when using proper stone-safe pressure techniques. For more ways to reduce usage without sacrificing results, use our pressure washer water conservation guide.
Natural stone carries history in its layers. Our job isn't to strip it bare, but to reveal its enduring beauty through thoughtful care. In my decade building quiet, efficient systems, I've learned that the best equipment gathers no dust (not because it's the most powerful, but because it's the one you'll use consistently without fear of damage). When your cleaning ritual disappears into the background of your weekend, leaving only sparkling stone behind, you've achieved the balance every stone owner deserves.
Related Articles