As a homeowner or property manager weighing your options for how often to pressure wash, you're likely caught between the desire for sparkling clean exteriors and legitimate fears of damaging your surfaces. Many DIY enthusiasts and small operators make the critical mistake of following generic annual cleaning schedules without considering what the material actually needs, leading to raised wood grain, blown mortar joints, and streaked oxidation. The truth is, pressure washing frequency must be determined by the surface itself, not the calendar. In this guide, I'll walk you through the precise methodology I've developed from running surface safety panels to establish finish-safe cleaning intervals that actually protect your investment.
Why Generic Schedules Fail Your Surfaces
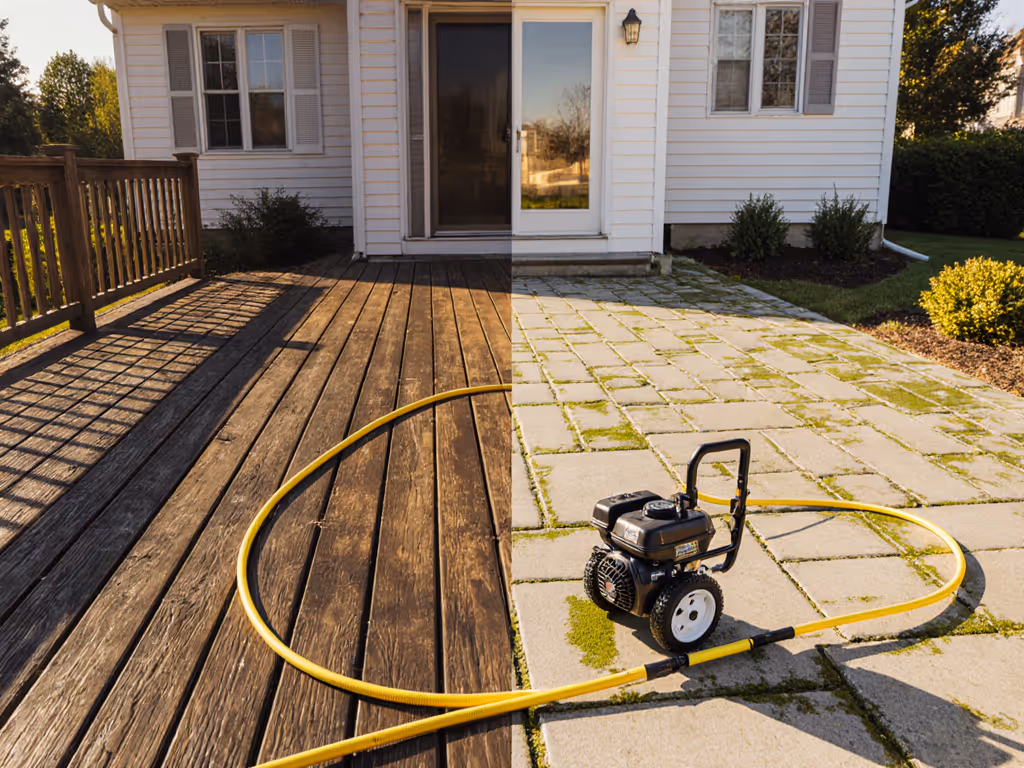
The "once a year" rule commonly touted online ignores the fundamental principle I've verified through thousands of test panels: the surface dictates the setup, not the other way around. Consider this: I once helped a homeowner solve persistent fuzzy cedar steps that kept deteriorating after each cleaning. On the test panels, we dropped from 1800 PSI to 1100 PSI, switched to a 40° nozzle, increased dwell with an oxygen cleaner, and followed the grain direction. The result? Fuzzing stopped, color stayed even, and drying lines disappeared. This underscores why determining your exterior cleaning timeline requires analyzing specific material properties rather than following one-size-fits-all recommendations.
Different materials have distinct failure thresholds. Wood fibers lift when PSI exceeds the lignin's tensile strength. Coated metals develop oxidation risk when aggressive cleaners strip protective layers. Masonry can lose grout integrity when water penetrates improperly. These aren't just aesthetic concerns. They directly impact your asset's longevity and overall home maintenance schedule.
Step-by-Step: Creating Your Surface-Specific Pressure Washing Schedule
Step 1: Assess Your Surface Material Properties
Before establishing frequency, catalog your surfaces by material type and condition. This isn't just "wood deck" versus "concrete driveway"; it's about understanding the specific composition:
- Natural wood: Check for finish type (stain, paint, oil) and whether it's porous (cedar, redwood) or dense (ipe, mahogany)
- Composites: Identify wood-plastic ratio and cap layer presence
- Masonry: Determine if brick is soft or hard, mortar composition, and whether stone is limestone or granite
- Coated metals: Note whether aluminum, steel, or galvanized with powder coat or anodized finish
Start with the surface; pressure is the last knob.
This material assessment forms your baseline. For example, a sealed cedar deck with soft grain requires more cautious treatment than a dense ipe deck, even though both are "wood." Similarly, older stucco with deteriorating mortar needs different handling than newly applied finish.
Step 2: Evaluate Environmental Factors Impacting Your Schedule
Your location dramatically affects weather impact on cleaning requirements. For month-by-month timing guidance, see our seasonal pressure washing guide. I've documented these environmental considerations across multiple climate zones:
- Humid/coastal areas (Southeast, Gulf Coast, Pacific NW): Biological growth accelerates, requiring 25-40% more frequent cleaning
- Arid regions (Southwest): Less biological growth but more mineral deposits from hard water
- Urban environments: Higher pollution load from vehicles and industry
- Tree proximity: Oak trees produce acidic sap; pines drop resinous compounds
- Water runoff patterns: Areas with poor drainage retain moisture longer, promoting growth
For each surface area, rate environmental exposure on a 1-5 scale where 1 is minimal impact and 5 is extreme exposure. This helps determine whether annual cleaning becomes bi-annual in high-impact zones.
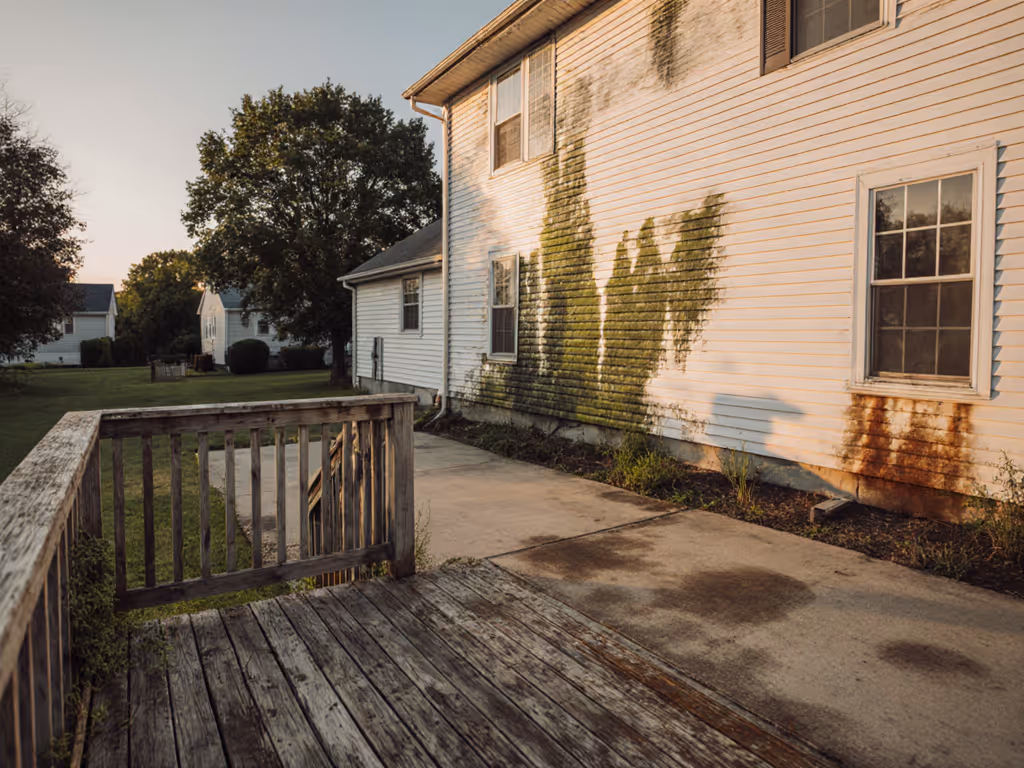
Step 3: Identify Surface Deterioration Signs That Trigger Cleaning
Rather than following a calendar, learn to recognize specific surface deterioration signs that indicate cleaning is needed now:
| Material Type | Early Warning Signs | Critical Failure Indicators |
|---|
| Natural Wood | Light discoloration, faint water spots | Raised grain, fuzzy texture, finish peeling |
| Composite Decking | Initial mildew spots in crevices | Deep staining, surface pitting, cap layer lifting |
| Masonry Surfaces | Surface efflorescence (white powder) | Mortar erosion, spalling brick faces |
| Coated Metals | Light oxidation streaks | Visible pitting, paint bubbling, corrosion |
Train yourself to spot these progression stages. Many homeowners wait until critical failure indicators appear, forcing them to use more aggressive cleaning methods that further damage the surface. Catching issues at the early warning stage allows for gentler cleaning within finish-safe thresholds.
Step 4: Determine Safe Pressure Thresholds for Each Surface
This is where most property owners make their biggest mistake: applying maximum pressure thinking it will clean faster. In reality, exceeding material thresholds causes damage that requires more frequent cleaning cycles. My test panels have established these general guidelines:
- Cedar/redwood decks: 1000-1200 PSI with 25-40° nozzle at 12-18" standoff
- Vinyl/composite decks: 1200-1500 PSI with 25-40° nozzle at 12-18" standoff
- Brick/concrete: 1500-2500 PSI with 25° nozzle at 12" standoff
- Soft stucco: 1000-1200 PSI with 40° nozzle at 18-24" standoff
- Roof shingles: 500-800 PSI maximum with soft wash system
Notice how the PSI range narrows significantly for more delicate surfaces. Your detergent choice directly affects these thresholds. Bleach solutions require lower PSI than oxygen-based cleaners due to oxidation risk.
Step 5: Calculate Optimal Dwell Time for Each Surface
Dwell time is the secret weapon for finish-safe cleaning that most DIYers ignore. Proper dwell reduces required PSI while improving cleaning effectiveness. Here's how to calculate it:
- Apply detergent at proper dilution ratio (I always recommend starting with the mildest effective detergent)
- Observe how long it takes for the solution to begin foaming/breaking down contaminants
- Note when it starts drying at the edges
- Optimal dwell = time when contaminants are breaking down but solution hasn't dried
For most surfaces, this ranges from 3-10 minutes. Wood surfaces typically need longer dwell (5-10 min) with oxygen cleaners to avoid raising grain, while concrete may only need 3-5 minutes with alkaline detergent. The key is matching dwell time to material porosity, not the calendar.
Step 6: Monitor and Adjust Your Schedule Based on Performance
Your initial schedule is just a starting point. Track these metrics after each cleaning:
- Time to visible contaminant removal
- Required PSI to achieve results
- Post-cleaning surface condition (any grain raising, etching, etc.)
- Time until next visible deterioration
After 2-3 cleaning cycles, you'll identify your surface's true rhythm. Most homeowners discover they can extend cleaning intervals by 20-30% once they're cleaning within finish-safe thresholds rather than causing damage that accelerates deterioration.
Building Your Customized Maintenance Plan
Now that you understand how to determine surface-specific cleaning needs, compile your data into a personalized schedule. For example:
- East-facing cedar deck (high tree exposure): Clean every 8 months with oxygen cleaner, 1100 PSI, 40° nozzle, 15" standoff, 8-minute dwell
- North-facing vinyl siding (minimal sun exposure): Clean annually with mild detergent, 1300 PSI, 25° nozzle, 12" standoff, 5-minute dwell
- Concrete driveway (oil stains from vehicles): Clean every 6 months with alkaline detergent, 1800 PSI, 25° nozzle, 12" standoff, 4-minute dwell
This approach transforms your home maintenance schedule from a guessing game into a precision process that actually extends your surfaces' lifespan. Remember my cardinal rule: Start with the surface; pressure is the last knob. When you operate within finish-safe thresholds, you reduce the frequency needed because you're not causing damage that requires premature re-cleaning.
Slow is smooth, smooth is fast. By taking the time to understand your surfaces' specific needs, you'll spend less time overall on maintenance while achieving better results. Your next step? Grab a notebook and start documenting your surfaces (material type, current condition, and environmental factors). Within one cleaning cycle, you'll have the data needed to create your truly customized pressure washing schedule that preserves your investment rather than accelerating its deterioration.